Are you a lizard owner who wants to provide your pet with a nutritious and cost-effective food source? Breeding mealworms can be a great solution. Mealworms are a staple in many reptile diets, providing essential protein and nutrients. With a little patience and effort, you can easily breed your own mealworms at home. In this article, we’ll cover everything you need to know about how to breed mealworms for lizards.
What are Mealworms?

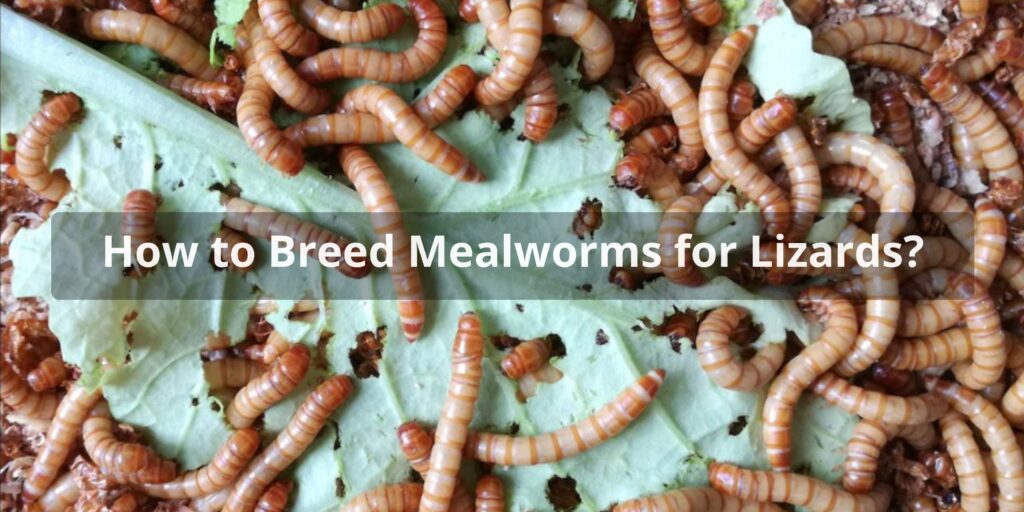
Before we dive into breeding, let’s first get a better understanding of what mealworms are. Mealworms are the larvae of the darkling beetle, which is commonly found throughout North America. They have a hard exoskeleton and feed on grains, vegetables, and fruits.
As they grow, mealworms go through several stages, shedding their skin each time. They start out as tiny white worms, but gradually grow into larger, yellowish-brown larvae. Eventually, they reach pupation and transform into adult beetles.
Why Breed Mealworms?
There are several reasons why you may want to consider breeding mealworms for your pet lizard:
- Cost-effective: Buying commercial feeder insects can get pricey over time. Breeding your own mealworms can save you money in the long run.
- Nutritious: Mealworms are high in protein and other essential nutrients that are important for your lizard’s health.
- Convenient: Having a reliable source of feeder insects on hand means you won’t have to make regular trips to the pet store.
Setting Up Your Mealworm Colony
The first step in breeding mealworms is setting up a colony. You’ll need a few basic supplies to get started:
- A plastic container with lid
- Bran or oatmeal
- Carrots or potatoes
- Mealworms (purchased from a pet store or online)
Here’s how to set up your colony:
- Place a layer of bran or oatmeal at the bottom of the container.
- Add a few slices of carrot or potato on top of the bran/oatmeal. This will serve as a food source for the mealworms.
- Add your mealworms to the container. They will burrow into the bran/oatmeal and begin eating the carrots/potatoes.
- Place the lid on the container, but make sure to poke a few holes in it to allow for air circulation.
Maintaining Your Mealworm Colony
Once you’ve set up your mealworm colony, it’s important to maintain it properly. Here are some tips for keeping your colony healthy:
- Keep the container at room temperature (around 70-80°F).
- Check on the colony regularly to make sure there is enough food and moisture.
- Replace the carrots/potatoes every few days to prevent mold growth.
- If you notice any dead mealworms, remove them immediately to prevent contamination.
Growing Your Colony
As your mealworms grow and mature, they will go through several stages of development. Eventually, they will reach pupation and transform into adult beetles. Here’s what you need to know about each stage:
Eggs
After mating, female beetles will lay small, white eggs that look like grains of rice. These eggs hatch into tiny mealworm larvae after about a week.
Larvae
The larvae are the main stage of the mealworm’s life cycle. They will spend several weeks feeding on the bran/oatmeal and carrots/potatoes before reaching pupation.
Pupae
When the larvae are fully grown, they will enter the pupal stage. During this time, they will transform into adult beetles. The pupal stage lasts about 1-2 weeks.
Adult Beetles
Once the pupae have transformed into adult beetles, they will mate and lay eggs, starting the process all over again. Adult beetles can live for several months and will continue to lay eggs throughout their lifespan.
Harvesting Your Mealworms
When it comes time to harvest your mealworms, there are a few things you should keep in mind:
- Use a sieve or strainer to separate the mealworms from the bran/oatmeal.
- Place the mealworms in a separate container with fresh vegetables to gutload them before feeding them to your lizard.
- Store any leftover mealworms in the refrigerator to slow their growth and prolong their lifespan.
Conclusion
Breeding mealworms for lizards is a cost-effective and nutritious way to provide your pet with a reliable source of feeder insects like crickets. With a little patience and effort, anyone can set up and maintain a mealworm colony at home. By following the tips outlined in this article, you’ll be well on your way to becoming a successful mealworm breeder!
- Read more in artical: How to Breed Crickets for Lizards
FAQs About How to Breed Mealworms for Lizards
How do I set up a mealworm breeding colony?
To set up a mealworm breeding colony, use a plastic container with ventilation holes. Add a substrate of oats, bran, or similar material for nesting and egg laying. Provide egg cartons or cardboard for hiding and molting spots. Place the container in a warm, dark area.
What do mealworms need in their habitat?
Mealworms need proper substrate, like oats or bran, for burrowing and laying eggs. Include hiding spots using egg cartons or cardboard. A shallow dish of water crystals or vegetables provides hydration, while a dry area offers them a place to pupate.
What do mealworms eat and how do I provide it?
Mealworms eat grains and vegetables. Provide a balanced diet of oats, grains, and pieces of fruits or vegetables like carrots and potatoes. Place food in small dishes to prevent it from mixing with the substrate, keeping it clean for the mealworms to consume.
How do I maintain the temperature and humidity for the colony?
Maintain a temperature around 70-80°F (21-27°C) to encourage breeding. Keep humidity relatively low, around 50-60%, to prevent mold growth. Proper ventilation and regular checks help regulate conditions in the colony.
How often should I feed and water the mealworms?
Provide fresh food every few days, removing old and spoiled pieces to maintain cleanliness. Place a shallow dish of water crystals or moist vegetables a few times a week to ensure hydration for the mealworms.
How do I prevent mold and pests in the colony?
Maintain proper ventilation and avoid over-moistening the substrate to prevent mold growth. Regularly clean out uneaten food and debris to prevent pests. Monitoring and maintaining a clean environment help deter mold and pests.
When and how do I harvest mealworms for my lizards?
Harvest mealworms once they pupate into darkling beetles. Separate the pupae and beetles from the mealworms and place them in a separate container. Harvest mealworms as needed for your lizards’ diet.
Are there any potential health risks for my lizards when feeding them mealworms?
Mealworms are generally safe for lizards when properly fed and cared for. However, ensure mealworms are appropriately sized for your lizard’s consumption to prevent choking. Moderation and a varied diet of other insects and foods are also advisable for a well-rounded nutrition.